Tzatziki Sauce
The Foundational Greek Condiment
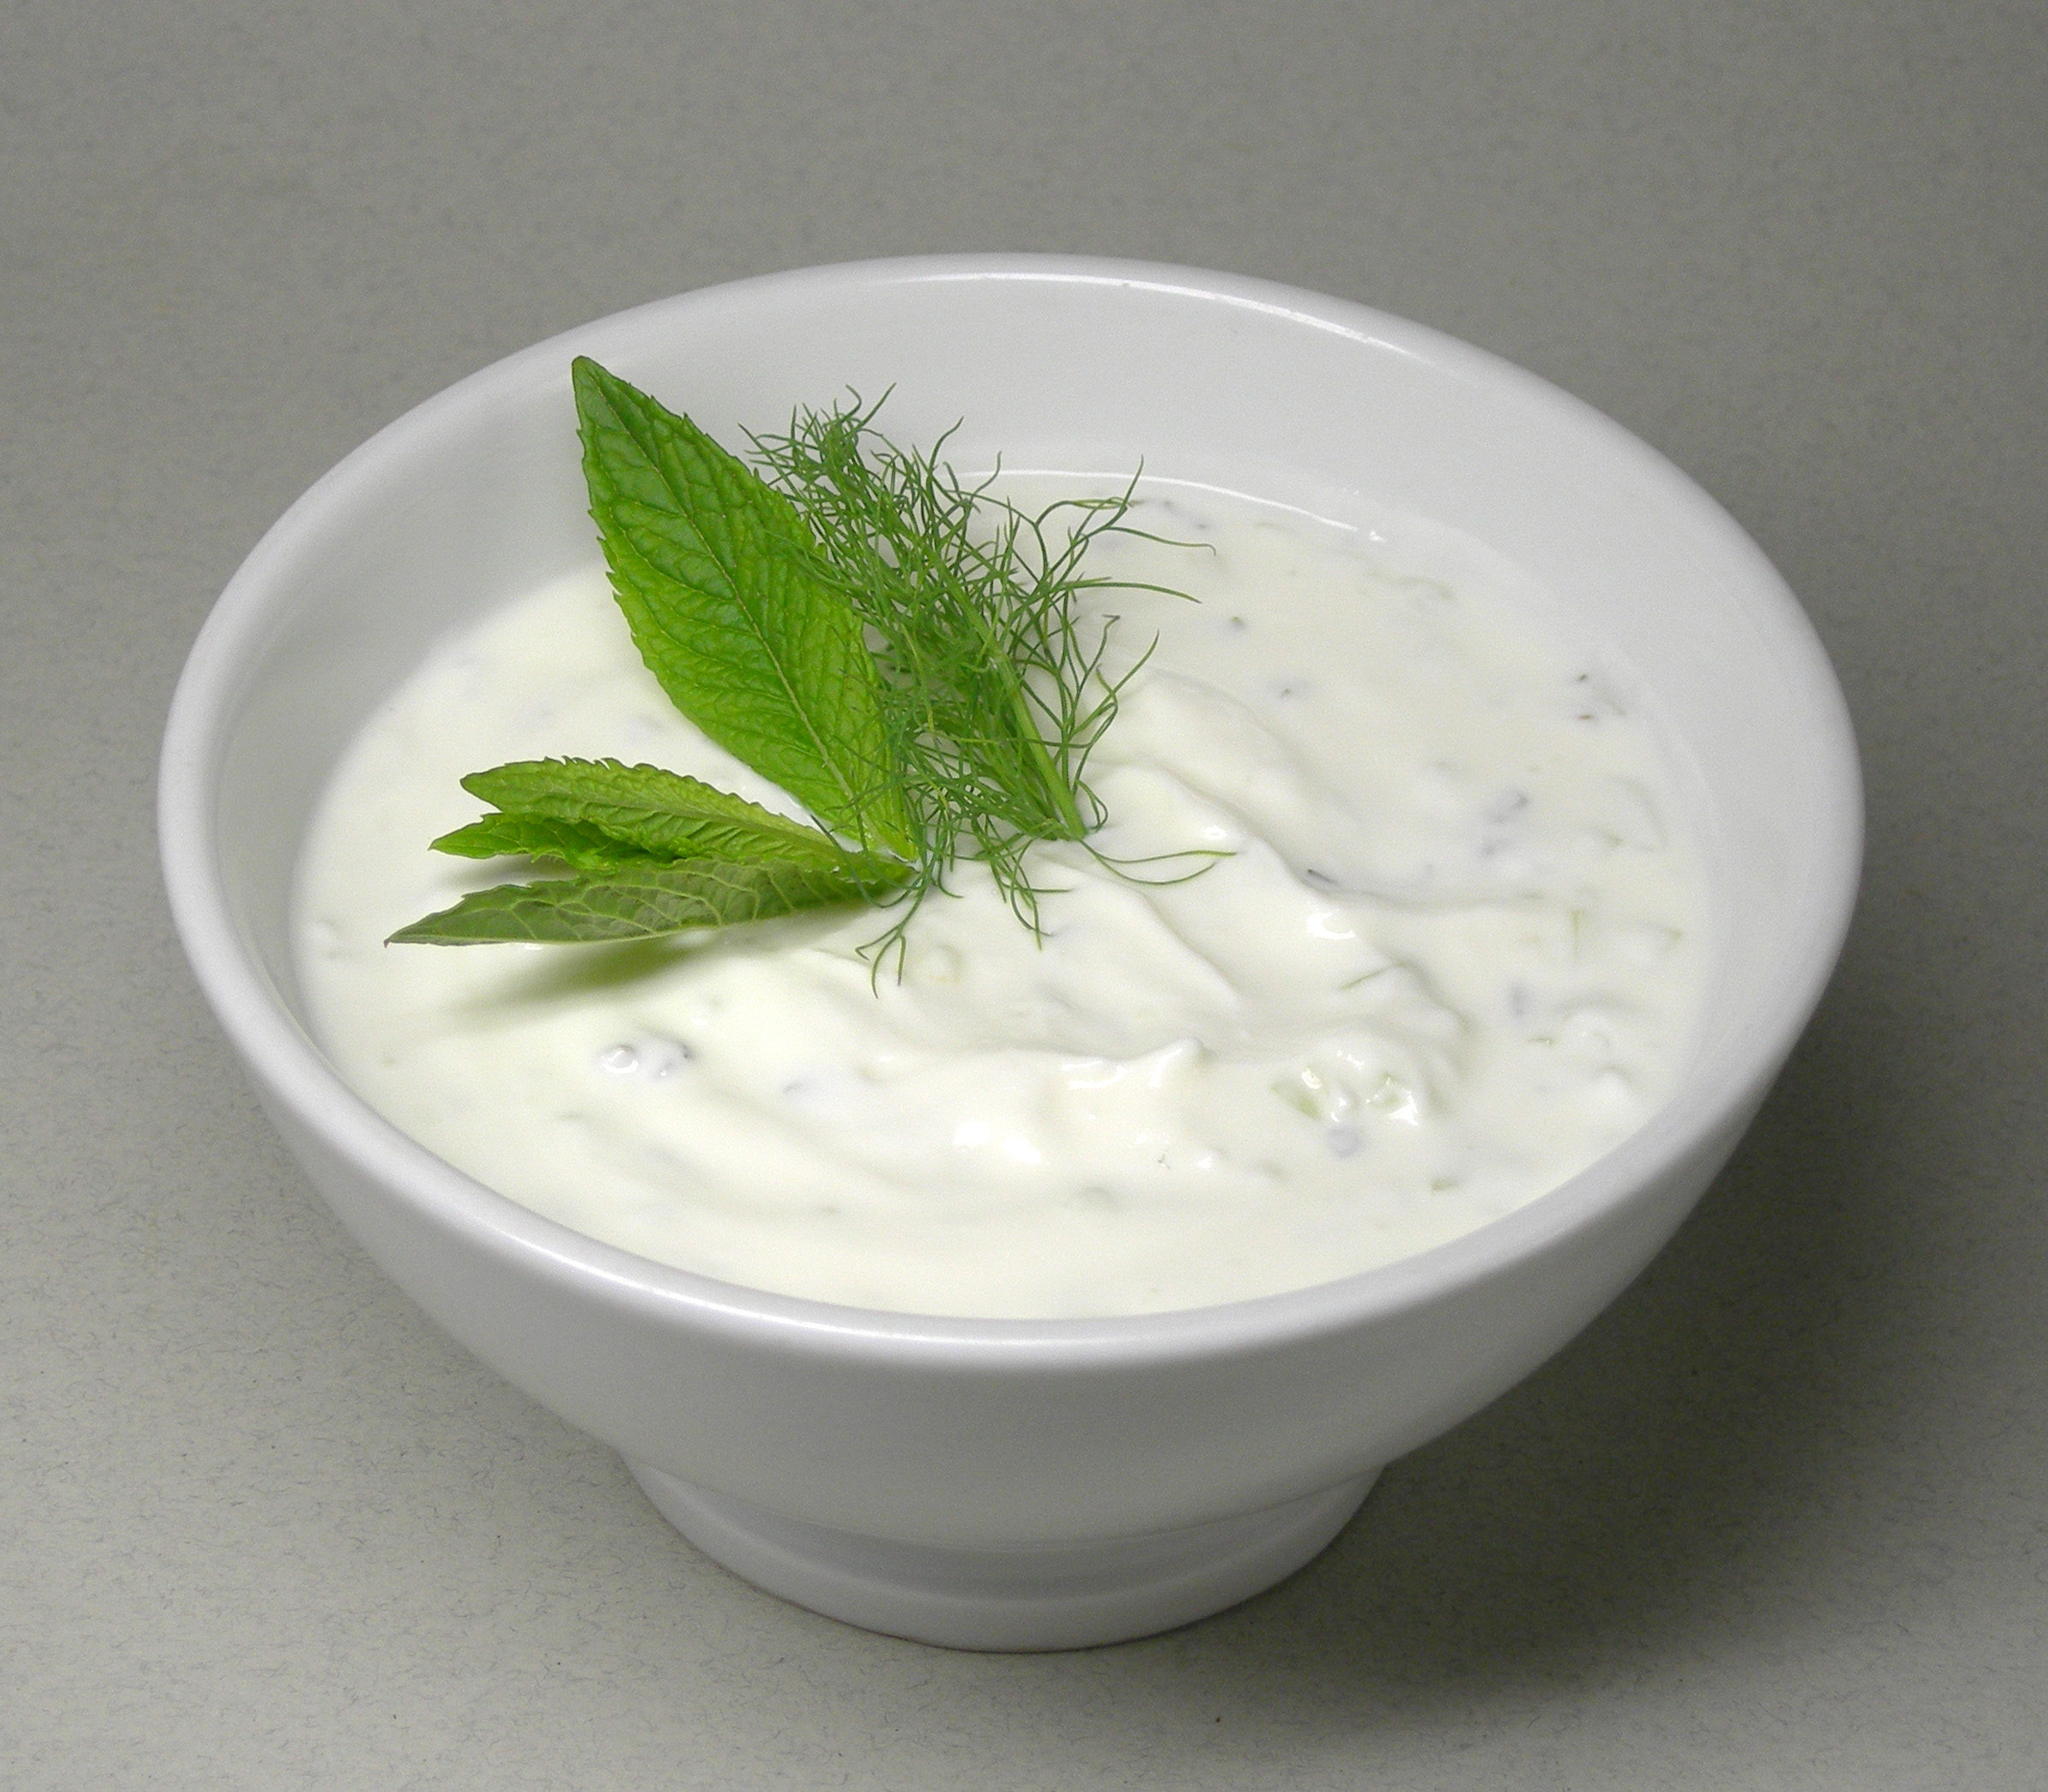
Walk into any Greek home, and there will almost certainly be tzatziki in the refrigerator. This yogurt-based sauce — thick, cool, garlicky, threaded with cucumber and dill — is one of the defining flavors of Mediterranean cooking. It serves as a dip for pita and vegetables, a sauce for grilled meats, a spread for sandwiches, and the dressing for several of the most popular Greek salads. Understanding tzatziki is understanding the logic of the Mediterranean table: fresh, simple ingredients combined in ways that amplify each other.
The word comes from the Turkish word cacık, which shares its origins with Persian mast-o-khiar — yogurt and cucumber sauces that appear across the entire Mediterranean and Middle Eastern world under different names. The Greek version is defined by its use of strained yogurt, which gives it a thickness that thinner yogurt sauces can’t match, and by the combination of garlic and dill that gives it its distinctive character.
Proper tzatziki takes about 15 minutes of active work — the rest is passive time for the cucumber to drain and the flavors to meld. The result keeps for five days and improves as it sits.
—
Why It Fits the Mediterranean Diet
Greek yogurt — the strained variety required for authentic tzatziki — is one of the most nutrient-dense foods in the Mediterranean diet. A half-cup serving provides approximately 10–12 grams of protein, 15–20% of the daily calcium requirement, and a significant dose of probiotics that support digestive health. Unlike sour cream or mayonnaise-based sauces, tzatziki delivers its richness through protein and probiotics rather than saturated fat.
Cucumber is almost entirely water, making it hydrating and virtually calorie-free. It contributes potassium and small amounts of vitamin K. Garlic has well-documented antimicrobial and cardiovascular benefits — allicin, the active compound released when garlic is crushed, has been studied for its effect on blood pressure and LDL cholesterol. Olive oil adds monounsaturated fats and tocopherols. This is a condiment that improves your meal nutritionally while also making it taste significantly better.
—
Ingredients
Quality notes: The yogurt must be strained (Greek-style), not regular plain yogurt. Regular yogurt is too thin and will make watery tzatziki. Full-fat produces the best flavor and texture, though 2% works reasonably well. For garlic, fresh cloves only — garlic powder produces a flat, one-dimensional flavor.
—
Equipment Needed
—
Instructions
1. Drain the cucumber.
Grate the cucumber on the large holes of a box grater. Place the grated cucumber in a clean kitchen towel or several layers of cheesecloth, gather the edges, and twist firmly over the sink, squeezing out as much liquid as possible. This step is not optional — the cucumber releases significant water, and skipping it produces watery tzatziki. Set the drained cucumber aside.
2. Prepare the garlic.
For a sauce this simple, garlic preparation matters. Mince the cloves very finely, or grate them on a microplane for a paste-like consistency that distributes evenly. If you want a milder garlic flavor, let the minced garlic sit in the lemon juice for 5 minutes before combining — the acid mellows the sharpness.
3. Combine.
In a medium bowl, combine the strained yogurt, drained cucumber, garlic, olive oil, lemon juice, dill, mint if using, salt, and white pepper. Stir to combine thoroughly.
4. Rest.
Cover and refrigerate for at least 30 minutes before serving — 1 hour is better, overnight is best. The resting time allows the garlic to mellow slightly and the flavors to integrate. Taste again before serving and adjust salt and lemon.
5. Serve.
Transfer to a serving bowl, create a shallow well with the back of a spoon, drizzle with olive oil, and add a small sprigs of fresh dill for presentation.
—
Pro Tips and Variations
The draining step is everything. Watery tzatziki is almost always caused by insufficient cucumber draining. After squeezing, taste a pinch of the cucumber — it should taste cucumber-forward with very little moisture. If it still seems wet, drain again.
Mint vs. dill: Traditional Greek tzatziki uses primarily dill. Some regional variations — particularly in Macedonia and Thrace — use primarily mint. Both are correct. Use whichever you prefer, or combine them equally for a more complex herb flavor.
Lemon vs. vinegar: Some versions use white wine vinegar in place of lemon juice. The result is slightly sharper and works well as a dip. Lemon juice produces a brighter, fresher flavor better suited for use as a sauce over grilled fish or chicken.
Make it thicker: Strain the finished tzatziki in a cheesecloth-lined strainer for 2 hours for a labne-like consistency excellent for spreading on bread.
—
Nutritional Info (per 3-tablespoon serving)
Calories: 60 | Protein: 4g | Carbs: 3g | Fat: 3g | Fiber: 0g | Calcium: 10% DV
—
Storage
Refrigerate in an airtight container for up to 5 days. Stir before each use — some liquid separation is normal, particularly from the cucumber. The garlic flavor intensifies over time; tzatziki made the day before serving is often better than tzatziki made the same day.
—
What to Serve With It
Tzatziki is the bridge sauce of Mediterranean cooking. Serve it alongside our Lemon Herb Roasted Chicken Thighs, as a dressing for Greek Salad with Tzatziki Dressing, or as a dip at the center of any mezze spread. It is also excellent with grilled lamb chops, spooned over falafel, spread on flatbread with roasted vegetables, or used as a dip for raw cucumbers, carrots, and bell pepper strips.
—
FAQs
Can I use regular plain yogurt instead of Greek?
You can, but you’ll need to strain it first. Line a fine mesh strainer with cheesecloth, add the yogurt, and let it drain in the refrigerator for at least 2 hours — ideally overnight. The result will be similar to Greek yogurt and will work well.
How far in advance can I make tzatziki?
Up to 3 days in advance. Make it the night before for best flavor. The garlic does intensify over time, so if you prefer a milder garlic note, reduce the amount slightly if making it more than 24 hours ahead.
Is tzatziki served cold or at room temperature?
Always cold or at cool room temperature. It’s a sauce designed to contrast with hot grilled meats and warm bread — the temperature contrast is part of why it works so well.